问答平台(8),项目部署
部署环境
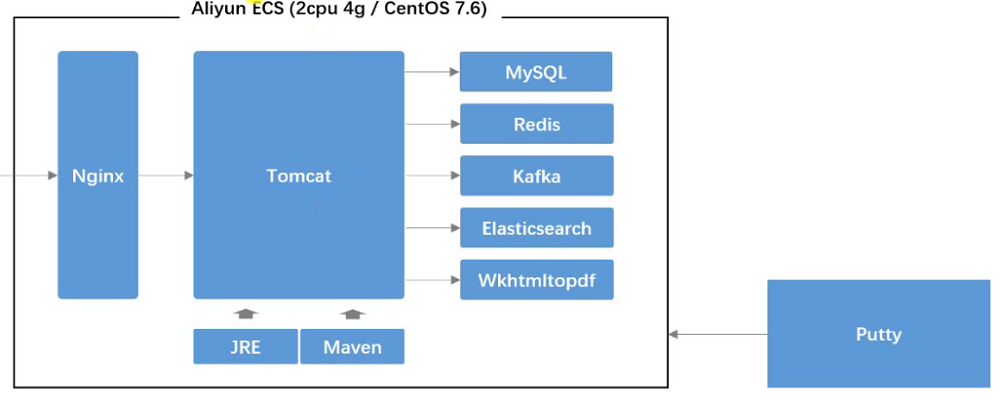
Putty
类似于 Xshell
Xftp

上传准备的软件安装包
unzip
- 安装
1
2
yum list unzip*
yum install -y unzip.x86_64
JDK
- 安装
1
2
3
yum list java*
yum install -y java-1.8.0-openjdk.x86_64(JRE)
yum install -y java-1.8.0-openjdk-devel(JDK)
maven
- 安装
1
tar -zvxf apache-maven-3.6.3-bin.tar.gz -C /opt - 配置环境变量
1
2
3
4
5
6
7
8
9
cd /opt
ll
pwd
cd apache-maven-3.6.3/
vim /etc/profile
export PATH=$PATH:/opt/apache-maven-3.6.3/bin
source /etc/profile
echo $PATH
mvn -version - 修改配置文件
1
2
3
ll
cd conf/
vim settings.xml - settings.xml
1
2
3
4
5
6<mirror>
<id>alimaven</id>
<mirrorOf>central</mirrorOf>
<name>aliyun maven</name>
<url>http://maven.aliyun.com/nexus/content/repositories/central/</url>
</mirror>
mysql
- 安装
1
2
3
4
5
6
7
8
cd /
yum list mysql*
cd /root
ll
yum install -y mysql80-community-release-el7-3.noarch.rpm
cd /
yum list mysql*
yum install -y mysql-community-server.x86_64 - 修改 root 用户密码
1
2
3
4
5
6
7
8
systemctl start mysqld
systemctl status mysqld
grep 'password' /var/log/mysqld.log
mysql -u root -p
系统生成的密码:C-40cbEfdeA=
alter user root@localhost identified by 'Nowcoder_123';
exit
mysql -u root -p - 数据库文件初始化
1
2
3
4
5
6
7
8
9
10
11
12
cd /root
ll
unzip -d /root community-init-sql.zip
mysql -u root -p
create database community;
use community;
source /root/community-init-sql/init_schema.sql
source /root/community-init-sql/init_data.sql
source /root/community-init-sql/tables_mysql_innodb.sql
show tables;
select id, username, header_url from user;
update user set header_url = 'http://images.nowcoder.com/head/666t.png' where header_url like '%localhost%';
redis
- 安装
1
2
3
4
cd /
yum list redis*
yum -y install epel-release
yum -y install redis - 启动
1
2systemctl start redis
systemctl status redis
kafka
- 安装
1
2
3
cd /root/
ll
tar -zvxf kafka_2.12-2.2.0.tgz -C /opt - 配置
1
2
3
4
5
6
cd /opt/
cd kafka_2.12-2.2.0/
ll
cd config/
vim zookeeper.properties
vim server.properties - 启动
1
2
3
4
5
6
pwd
cd ..
bin/zookeeper-server-start.sh -daemon config/zookeeper.properties
nohup bin/kafka-server-start.sh config/server.properties 1>/dev/null 2>&1 &
[1] 31659
bin/kafka-topics.sh --list --bootstrap-server localhost:9092
elasticsearch
- 安装
1
2
3
4
cd /root/
ll
tar -zvxf elasticsearch-6.4.3.tar.gz -C /opt
unzip -d /opt/elasticsearch-6.4.3/plugins/ik elasticsearch-analysis-ik-6.4.3.zip - 配置
1
2
cd /opt/elasticsearch-6.4.3
cd config/ - elasticsearch.yml
1
2
3
cluster.name: nowcoder
path.data: /tmp/elasticsearch/data
path.logs: /tmp/elasticsearch/logs - vim jvm.options
1
2
-Xms256m
-Xmx512m - 用户
1
2
3
4
5
6
7
8
9
10
11
12
groupadd nowcoder
useradd nowcoder1 -p 123456 -g nowcoder
cd /opt
chown -R nowcoder1:nowcoder *
cd /tmp
chown -R nowcoder1:nowcoder *
su - nowcoder1
clear
cd /opt/elasticsearch-6.4.3/
bin/elasticsearch -d (后台启动)
su -
curl -X GET "localhost:9200/_cat/health?v"
wkhtmltopdf
- 安装
1
2
3
4
5
cd /
yum list wkhtmltopdf*
yum install -y wkhtmltopdf.x86_64
yum list *xvfb*
yum install -y xorg-x11-server-Xvfb.x86_64 - 测试
1
2
3
4
5
6
7
8
9
10
11
12
cd /root/test/
ll
xvfb-run --server-args="-screen 0, 1024x768x24" wkhtmltoimage https://www.baidu.com 1.png
ll
cd /opt
vim wkhtmltoimage.sh
xvfb-run --server-args="-screen 0, 1024x768x24" wkhtmltoimage "$@"
ll
chmod +x wkhtmltoimage.sh
ll
cd /root/test/
/opt/wkhtmltoimage.sh https://www.baidu.com 2.png
tomcat
- 安装
1
2
3
cd /root
ll
tar -zvxf apache-tomcat-9.0.31.tar.gz -C /opt - 配置环境变量
1
2
3
4
5
6
7
cd /opt/apache-tomcat-9.0.31/
cd bin/
pwd
vim /etc/profile
export PATH=$PATH:/opt/apache-tomcat-9.0.31/bin
source /etc/profile
echo $PATH - 启动
1
2
3
4
5startup.sh
cd /opt/apache-tomcat-9.0.31/
ll
cd webapps/
ll - 关闭防火墙
1
2
systemctl stop firewalld.service
systemctl disable firewalld.service
nginx
- 安装
1
2
3
cd /
yum list nginx*
yum install -y nginx.x86_64 - 配置
1
vim /etc/nginx/nginx.conf - nginx.conf
1
2
3
4
5
6
7
8
9
10
11
upstream myserver {
server 127.0.0.1:8080 max_fails=3 fail_timeout=30s;
}
server {
listen 80;
server_name 192.168.3.129;
location / {
proxy_pass http://myserver;
}
} - 启动
1
2systemctl start nginx
systemctl status nginx - nigix 启动成功,代理 tomcat 失败,出现502,解决方法如下:
1
/usr/sbin/setsebool -P httpd_can_network_connect true
部署原理
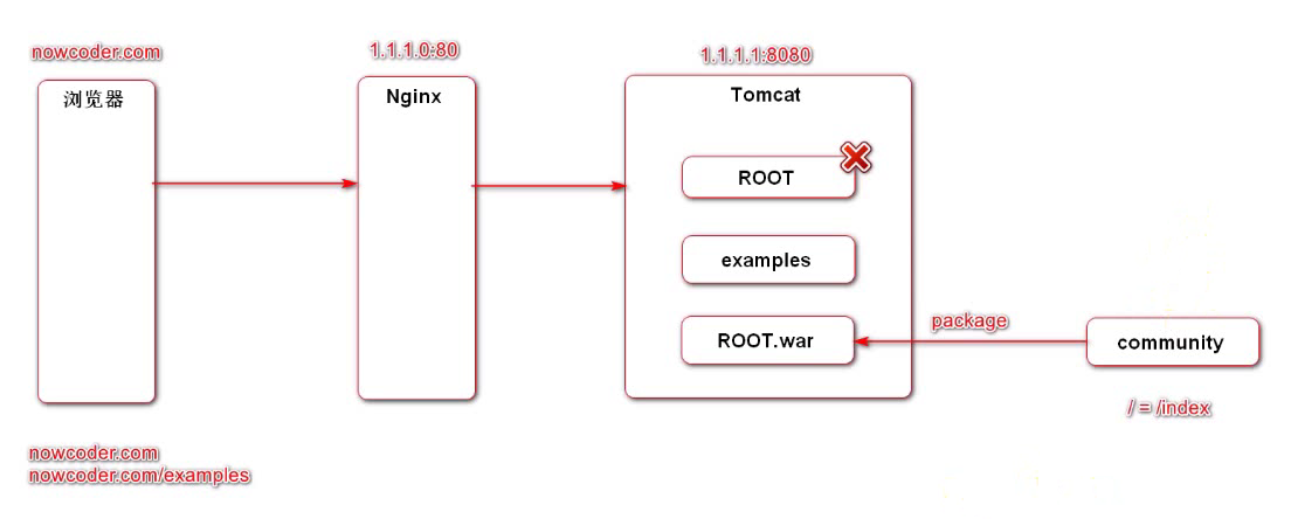
tomcat
1 | |
修改代码
- application-produce.properties
1
server.servlet.context-path= - global.js
1
var CONTEXT_PATH = ""; - HomeController
1
2
3
4@RequestMapping(path = "/", method = RequestMethod.GET)
public String root() {
return "forward:/index";
} - pom.xml
1
2
3
4
5<packaging>war</packaging>
<build>
<finalName>ROOT</finalName>
</build> - application.properties
1
2
3
4# profile
spring.profiles.active=produce
# logback
logging.config=classpath:logback-spring-${spring.profiles.active}.xml - 配置文件
1
2application-develop.properties、logback-spring-develop.xml
application-produce.properties、logback-spring-produce.xml - application-produce.properties
1
2
3
4
5
6
7
8
9
10
11
12
13
14
15
16
17
18
19
20# ServerProperties
server.port=8080
server.servlet.context-path=
# ThymeleafProperties
spring.thymeleaf.cache=true
# DataSourceProperties
spring.datasource.driver-class-name=com.mysql.cj.jdbc.Driver
spring.datasource.url=jdbc:mysql://localhost:3306/community?characterEncoding=utf-8&useSSL=false&serverTimezone=Hongkong&allowPublicKeyRetrieval=true
spring.datasource.username=root
spring.datasource.password=Nowcoder_123
spring.datasource.type=com.zaxxer.hikari.HikariDataSource
spring.datasource.hikari.maximum-pool-size=15
spring.datasource.hikari.minimum-idle=5
spring.datasource.hikari.idle-timeout=30000
# community
community.path.domain=http://192.168.3.129
community.path.upload=/tmp/uploads
# wk
wk.image.command=/opt/wkhtmltoimage.sh
wk.image.storage=/tmp/wk-images - logback-spring-produce.xml
1
2
3
4
5
6<?xml version="1.0" encoding="UTF-8"?>
<configuration>
<contextName>community</contextName>
<property name="LOG_PATH" value="/tmp"/>
<property name="APPDIR" value="community"/>
</configuration> - CommunityServletInitializer: 新增
1
2
3
4
5
6
7public class CommunityServletInitializer extends SpringBootServletInitializer {
@Override
protected SpringApplicationBuilder configure(SpringApplicationBuilder builder) {
return builder.sources(CommunityApplication.class);
}
}
正式部署
- mvn 打包
1
2
3
4
5cd /root
ll
unzip -d /root community-deploy.zip
cd community
mvn clean package -Dmaven.test.skip=true (忽略测试,第一次会下载比较慢)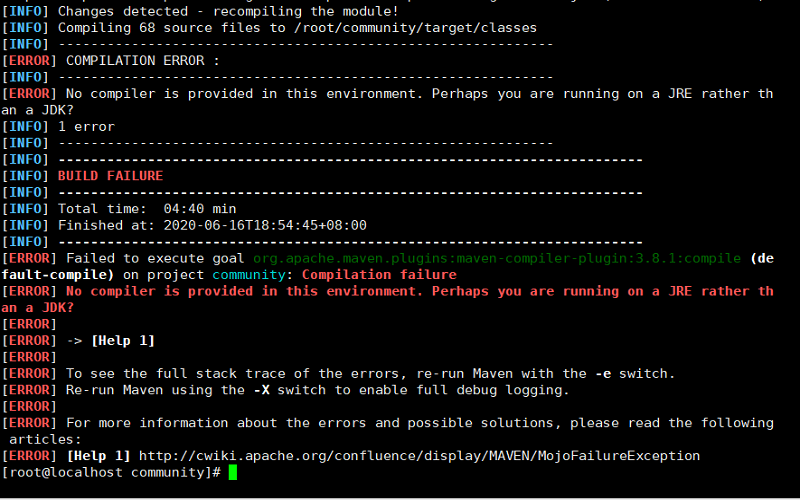
解决方法:1
yum install -y java-1.8.0-openjdk-devel (JDK)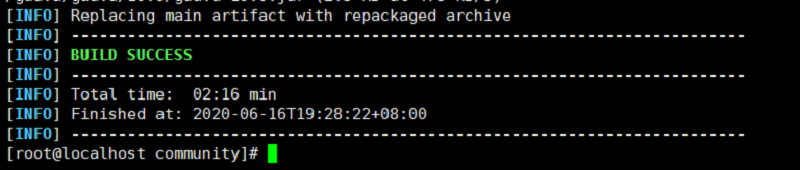
- kafka 依赖版本问题解决方法:pom.xml文件,去掉 kafka 依赖版本。
1
2
3
4
5
6
7
8
9
10
11
12
13
14
15ll
cd target/
ll
mv ROOT.war /opt/apache-tomcat-9.0.31/webapps/
ll
cd /opt/apache-tomcat-9.0.31/webapps/
ll
startup.sh
cd ..
ll
cd logs/
vim catalina.2020-06-16.log
cd /tmp
cd /community
ll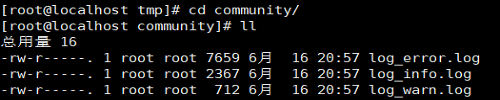
项目部署日志
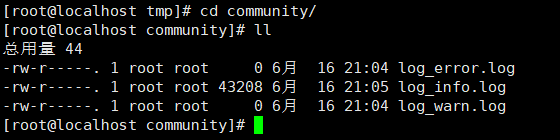
项目部署成功

发帖测试
能点赞,redis 正常。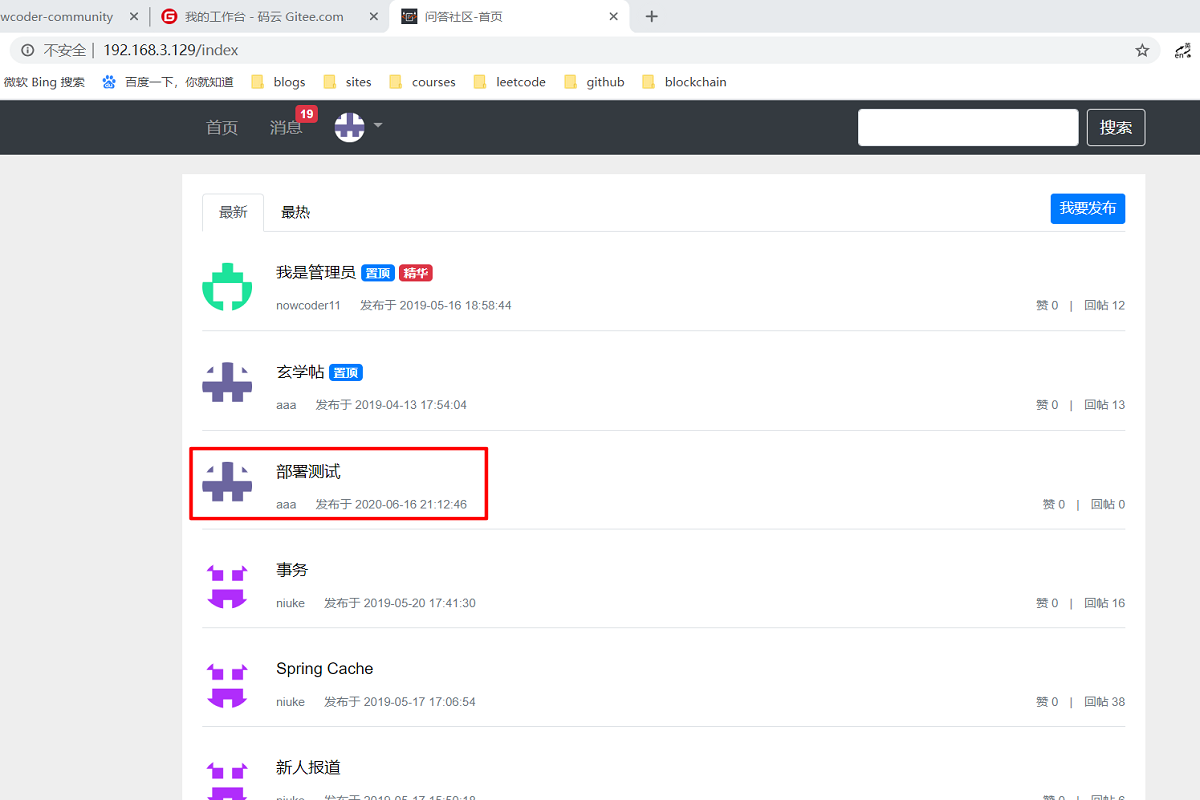
消息测试
能收发消息,kafka 正常。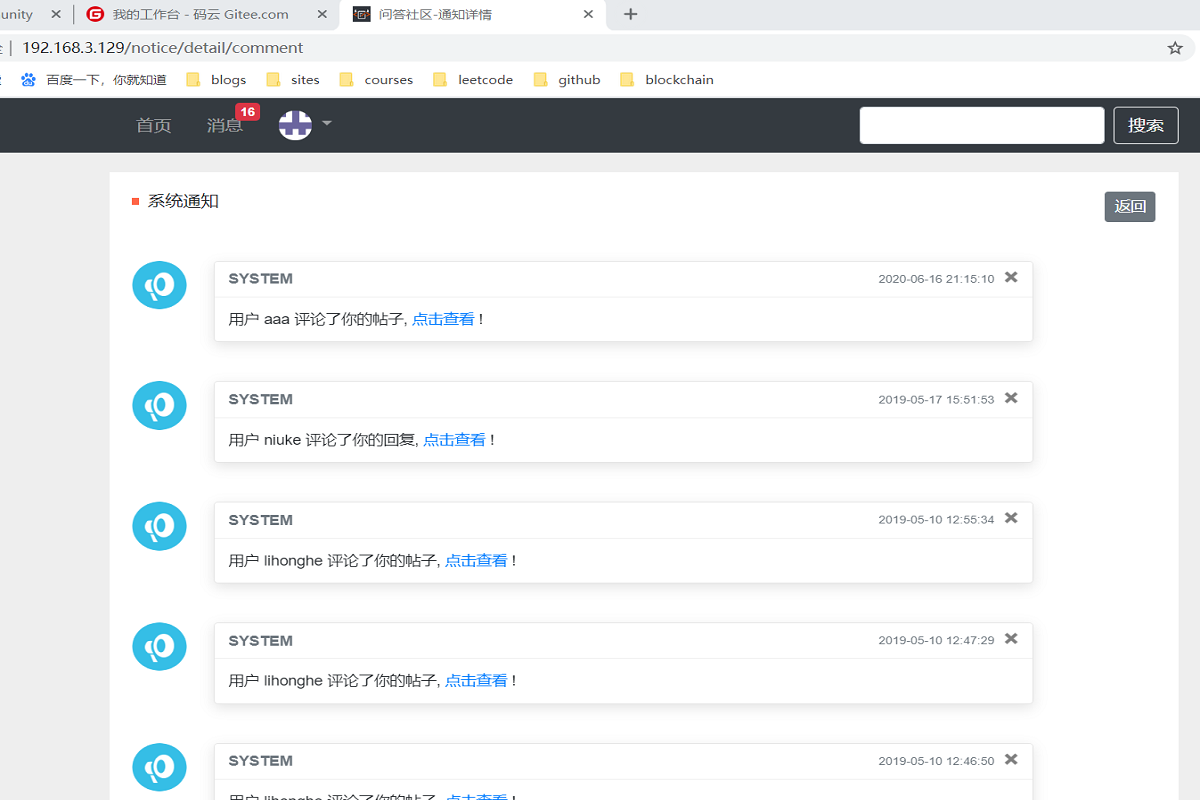
搜索测试
搜索关键词,elasticsearch 正常。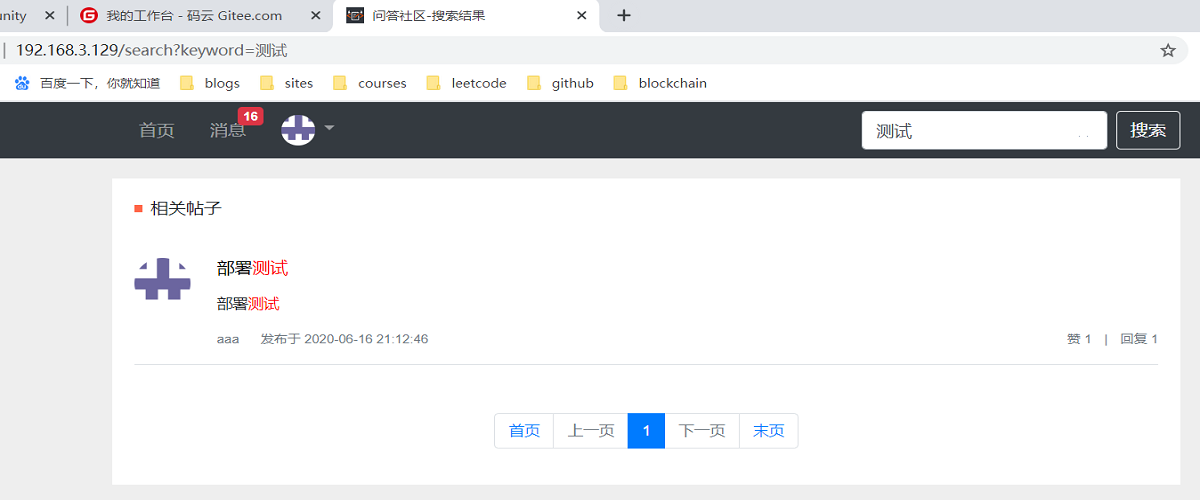
修改头像
修改头像成功,wkhtmltoimage、七牛云正常。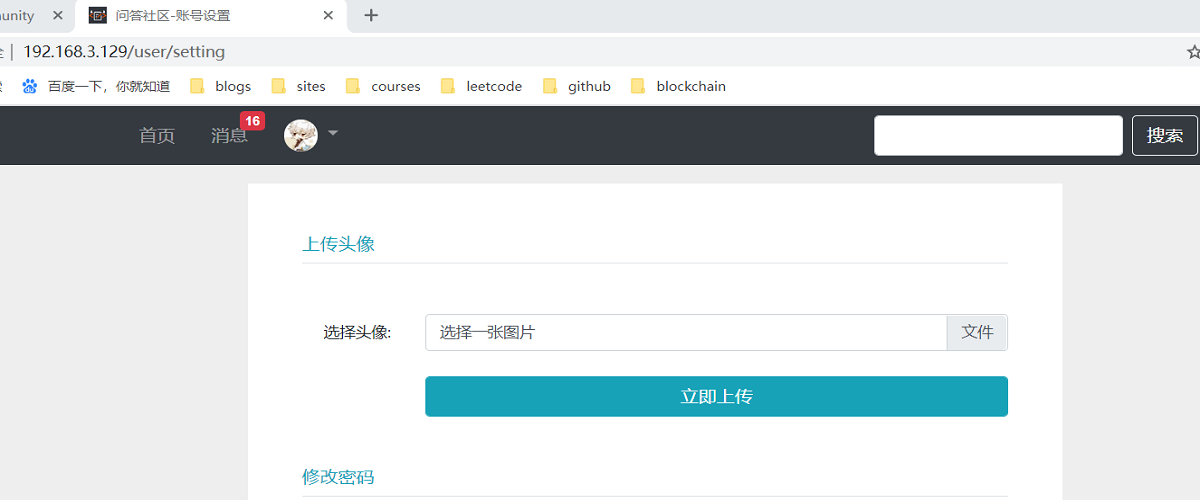
参考资料
yum.pid:
https://blog.csdn.net/LZY_520/article/details/80563021redis:
https://www.cnblogs.com/autohome7390/p/6433956.html
https://www.cnblogs.com/xiaonan1/p/12615663.htmlcentos7’s firewall:
https://www.cnblogs.com/yyxq/p/10551274.htmlnginx 502:
https://blog.csdn.net/u013695144/article/details/48314421mvn:
https://blog.csdn.net/LJFPHP/article/details/89341345
https://segmentfault.com/q/1010000010889179elasticsearch:
https://www.cnblogs.com/houweijian/p/10448655.html
问答平台(8),项目部署
https://lcf163.github.io/2020/06/24/问答平台(8),项目部署/